In my previous article we were talking about mongodb, this time we will talk about how to use mongo in Node JS, first of all we will need to install node in our machine, if you want to know how to install node in your machine, we have an article that can help you , I recommend that you check it out before starting this article. Well, let’s start.
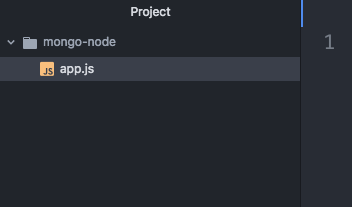
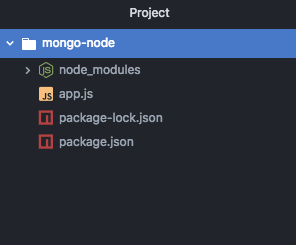
First of all, we will have to open our favorite text editor in my case it will be “Atom”, and then we will make a folder where we will save the files for our mini-project, this folder we will call it “mongo-node” and it will only have a file called “App.js”, as shown below:
Once we have our folder and our file, we will have to initialize our package in our mini project, for that we will have to open a terminal and position ourselves in our “mongo-node” folder and run the “npm init” command:

Then we will get a form with important data for our project, but for practical purposes we will enter everything and it will be as follows:
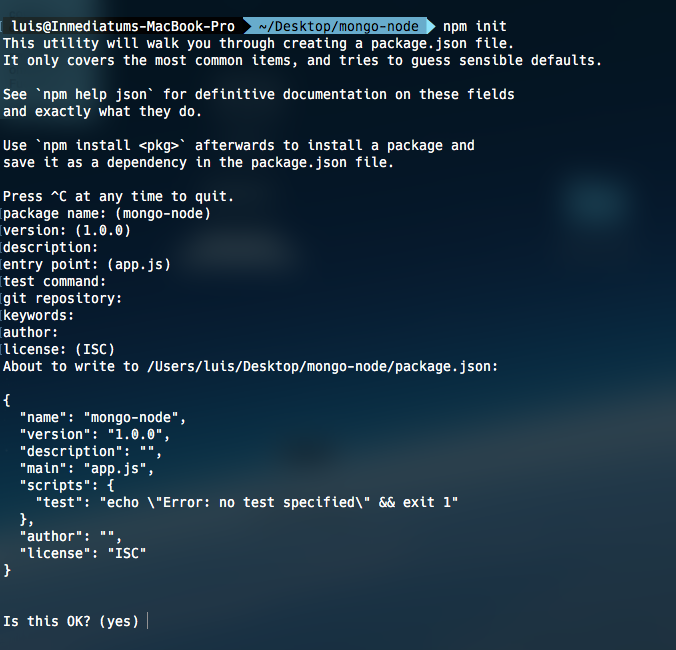
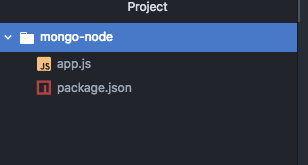
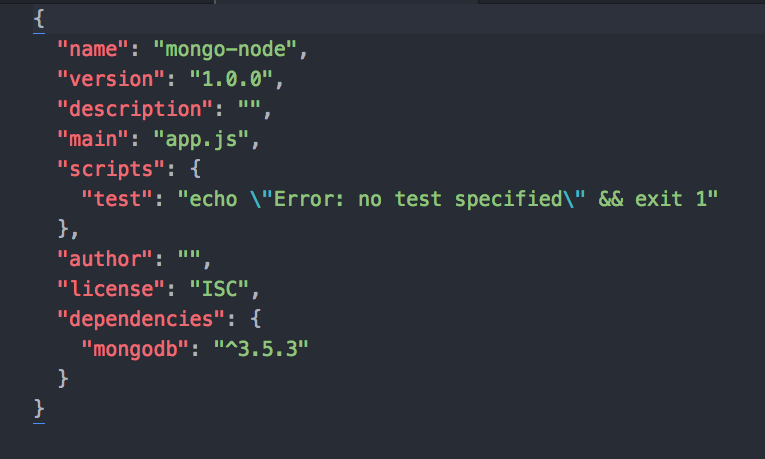
In the end we write yes and enter to finish the process. To confirm we go to our project and we will see that we will have a new file called “package.json”, this file is where all the settings and dependencies of our app will be saved:
Next we have to install the mongo library to achieve the connection, for that we go back to the terminal and write the following command “npm install –save mongodb”:

Once we enter, we will have to wait a bit for the dependency to finish installing, when we finish we will go to our project and we will see a new file and a new folder, this means that the process was done correctly:
In the same way in our package file you will have a new change in the dependencies, we will find that the new dependency that we add is there:
Our last configuration will be to turn on mongo in our console, for this, we go back to our terminal and write the following command “sudo mongod”, which will ask us for our password of our machine, we write it and give enter:

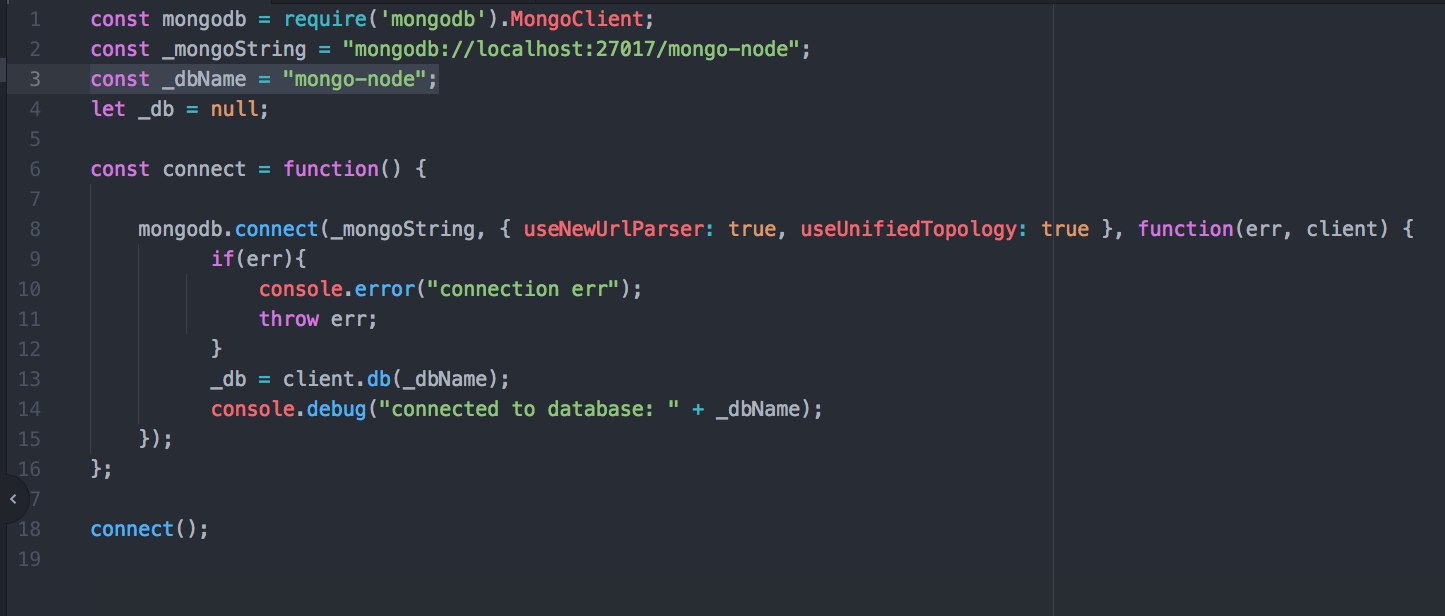
Well, finally we will have to write some lines of code to achieve our goal, we go to our file “app.js”, first we will have to add our dependence on mongo, “const mongodb = require (‘mongodb’). MongoClient”, This variable will have all the necessary methods to achieve the connection to the database, then we will declare two constants, the first will be _mongoString that will help us save the connection chain that we have to carry the following pattern: “mongodb: // + ip or localhost +: + port + / + database ”, it would look like this: const _mongoString =” mongodb: // localhost: 27017 / mongo-node “; the next constant will be _dbName that will only save the name of the database, const _dbName = “mongo-node”;
After we create a function called connect, this method aims to communicate. And finally we call the function and this would be all, therefore the final file would be:
Finally we have to test our mini project, for that we go to our terminal and position ourselves in the folder of our project and execute the following command “node app.js” and if everything goes well we have to see the message: “connected to database: mongo-node ”

In this way the connection to mongodb is achieved, so far we do not interact directly with the database as with an insert update find or delete, this we will see in a next article, for now play a little with the code or investigate a little more of the subject to reinforce the knowledge we obtained today. Without further ado I say goodbye, see you in the next article.


