Hi again! Eduardo Rodriguez here with a quick view of Google Cloud Firestore. Before we start, remember to check my previous post about Cloud Vision API.
Some background…
It’s not a secret that sometimes developers need to work against the clock. Even when we try to plan every step of the development process, there are just some scenarios that we cannot be prepared for.
It was in one of these scenarios when Google Cloud Firestore played an important part in my development deadline. We didn’t have the time or resources available at the time to develop an API that stores the information I needed so we opt to use this great tool.
Some things to consider before coding…
As always, before we start using a firebase tool, we need to make all the configurations required for firebase to work in our Android project. This basically means that we need to create a new project in the Firebase Console, register our app with firebase and add the configuration file provided by firebase to our project in Android Studio. If you are not familiar with this process, here is a link with all the information you need to do it.
Creating a database
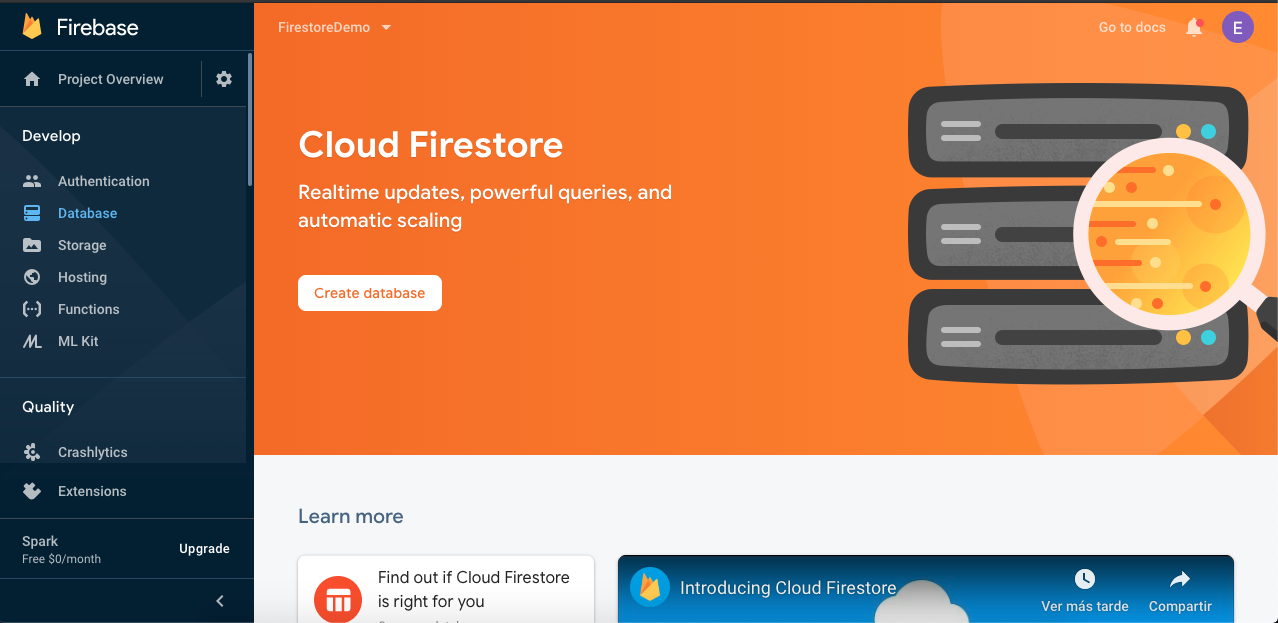
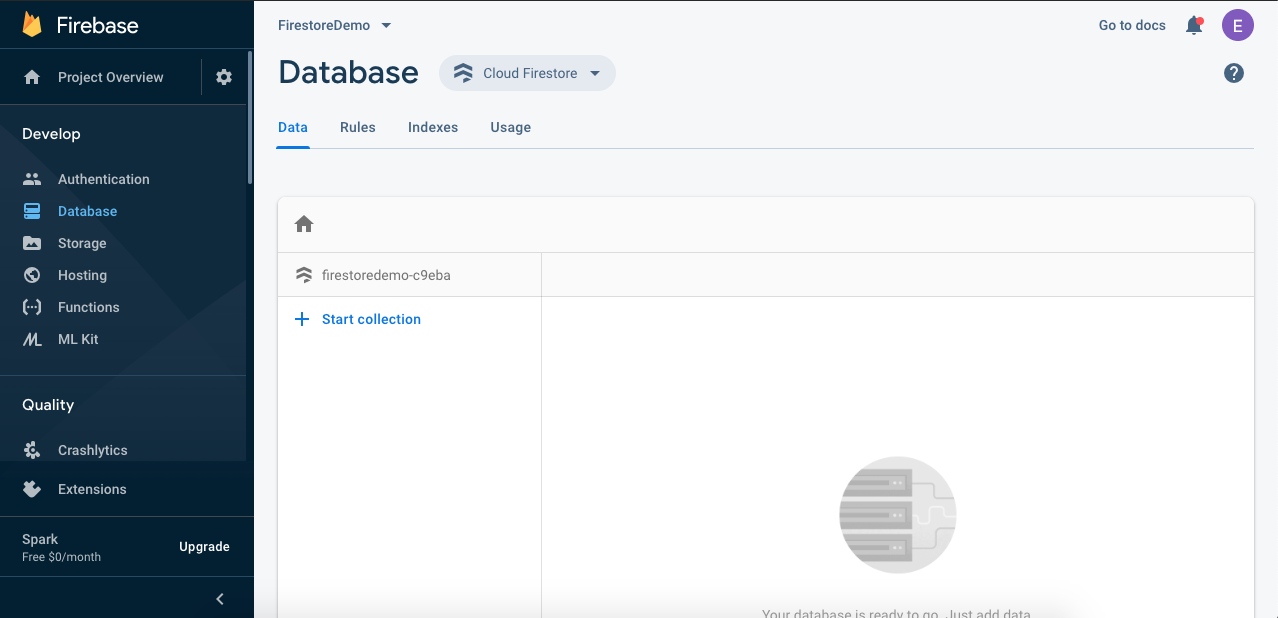
After these configurations are done, our next step will be to create our Database. To do so, we are going to go to our Firebase Console, select the Database section on the left panel, and click on the button Create database.
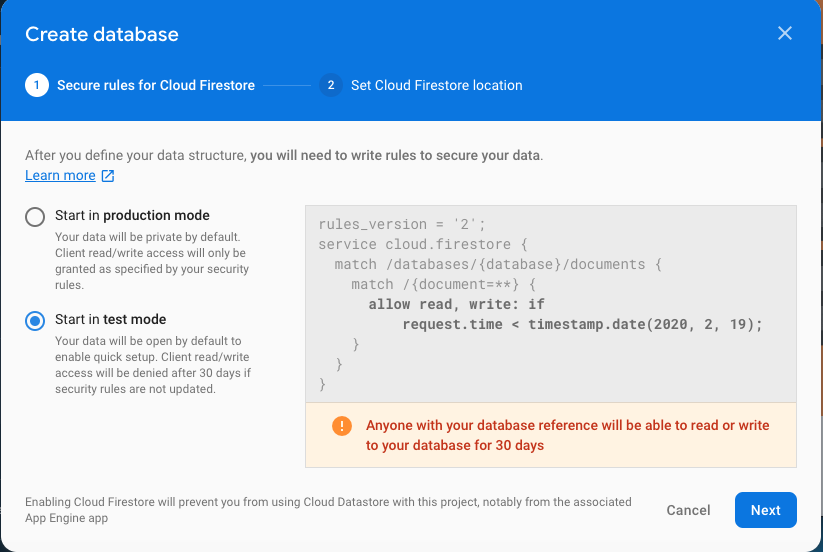
A dialog will be shown for us to select if we want to create our database in production mode or test mode. In this particular case, we’ll select test mode.
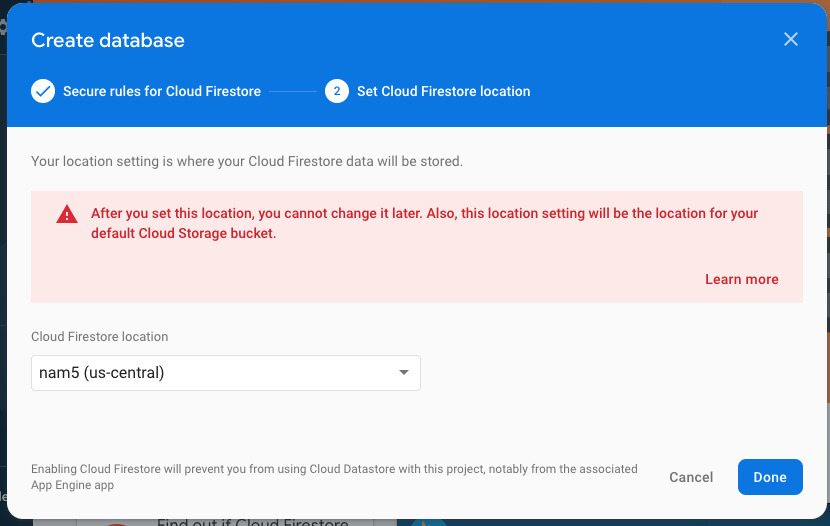
Before we finish, we’ll be asked for the location of our database.
That’s it. Our data base is now created and the panel to see and manipulate all the data is now available.
Let’s code…
Whit all the configurations made and our database created, now we are able to start coding. The first thing for to do, as usual is add the dependency in our build.gradle app leve file:
implementation 'com.google.firebase:firebase-firestore:21.3.1'
Now we just initialize Firestore and we are ready to go:
val db = FirebaseFirestore.getInstance()
After that, we can perform every action we want on our database, here is a code example for add and get a collection:
//Map of data to add
val user = hashMapOf(
    "name" to "Eduardo",
    "number" to "5555555555",
    "type" to "Work"
)

db.collection("users")
    .add(user)
    .addOnSuccessListener { documentReference ->
        Log.d(TAG, "DocumentSnapshot added with ID: ${documentReference.id}")
    }
    .addOnFailureListener { e ->
        Log.w(TAG, "Error adding document", e)
    }

//Code to get "users" collection
db.collection("users")
        .get()
        .addOnSuccessListener { result ->
            for (document in result) {
                Log.d(TAG, "${document.id} => ${document.data}")
            }
        }
        .addOnFailureListener { exception ->
            Log.w(TAG, "Error getting documents.", exception)
        }
So that’s it. Easy, right?. This is a really powerful tool. You can create a database from scratch in no time, the configurations are really easy to make and you can add any field you want to your collection even when is not present on the other documents, if the collection is not created firestore will create it for you and a lot of really cool more features.
I hope this information helps you as much as it helped me.